susan kay qldc govt nz
Monster Pom Poms
July School Holiday - Craft how to PomPom Monster
Title: PomPom Monster
Target audience age: 5-9 years
Supplies required: (please give office max order number if applicable)
1. Wool
2. Googly Eyes -Craft Workshop Moving Eyes Assorted Sizes, Pack of 100
3. Felt - Craft Workshop Felt Sheets 300x225mm Assorted Colours, Pack of 24
4. Scissors
Directions:
DIY POM POMS BY HAND- directions
STEP 1 - SECURE THE END
Take the end of the yarn and tuck it between your two fingers to keep it from unraveling. Remember not to let go as you start wrapping.
STEP 2 - START WRAPPING YARN
Then wrap the yarn around 3 or 4 fingers leaving the thumb free.
The number of fingers you wrap around will determine the size of the finished pom pom.
If you need to make multiple pom poms the same, then count the number of times you wrap it around your hand.
IMPORTANT - Wrap loosely as you will find it gets tighter and tighter the more times you wrap. You need to be able to get the loops off your hand in the next step.
STEP 3 - REMOVE THE YARN
When you are happy with the volume, take the yarn carefully off your hand. Make sure it all stays neatly together. If it comes off in a mess, that means you wrapped too tight. Try again wrapping a little looser.
STEP 4 - TIE THE CENTER
Take a 15cm piece of yarn and wrap it around the center of the DIY pom poms a couple of times. Pull very tight and tie a double knot. (If you want a shorter or longer tie, cut the length of yarn double your desired length)
Cut the ends of the center string. Alternatively, leave the ends long if you want to attach them to a clutch or purse, or knitted hat.
STEP 5 - SHAPE AND CUT
Fluff up your DIY pom poms and trim the ends to shape. All done! Happy, fluffy DIY pom poms.
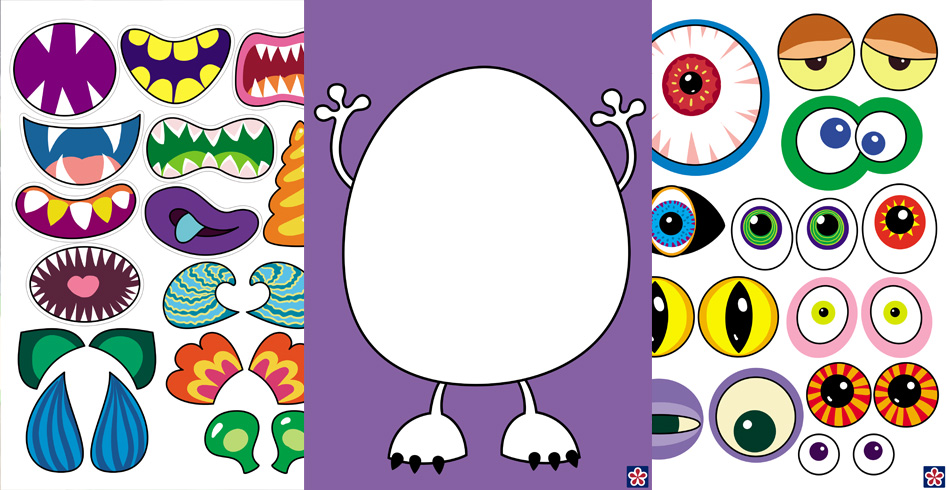
Then add your monster accessories, eyes, hats, feet, teeth, horns etc.


