Holly Williams
Multi-Step Apple Tree Project
I'm currently homeschooling my 3 year old daughter. During our Apple Week theme, we made an apple tree. This project was completed over two days during the "arts and crafts" portions of our lessons. Since this was a large project for a 3 year old, rather than doing one large crafting session, we did multiple small sessions over these two days. While I found other versions of this project online, I couldn't find a tutorial for what I envisioned, so I made my own project. This has been her favorite project that we have done to date.
DAY ONE
We began our apple tree craft with a large piece of drawing paper. We created green and blue paints using food color and water. We made our green paint by mixing blue and yellow colors. We checked the color for our sky and grass area for our tree. We drops of food color as necessary until our paints were a shade and darkness we wanted.
We used the internet to look at pictures of "grass with sky" to get an idea of how our painting should look. We then utilized a large paint brush to wash the entire sheet of drawing paper making a grass area and sky above it. I imagined I would need to assist my daughter with the painting; however, to my surprised she did a decent job by herself. She enjoyed the activity, so we made several grass and sky paintings. We discovered during the course of painting that if we pressed too hard on the drawing paper while painting, the paper would gear. After, we painted a number of backgrounds, we allowed our paintings to dry. Once they were dry we choose our favorite to make our tree.
For our tree, we did a hand painting in brown on brown construction paper. I painted my daughter's arm and hand with poster paint. I found it easier to paint directly onto her arm and hand rather than trying to stamp into tray or plate of paint. With assistance, after she was painted, she stamped her hand and forearm onto brown construction paper. We did this a number of times since she enjoyed the process. We then let these hand prints dry overnight.
DAY TWO
We began day two of our activity by choosing our favorite tree. I then cut the "tree" from the construction paper. I initially attempted to have my daughter cut the trees from the paper utilizing pre-school training scissors. She was frustrated by cutting the irregular shapes, so I took over. Since she was frustrated cutting the tree from paper, I had her cut "branches" for the tree from construction paper. She had a lot of fun cutting branches since it was basically making straight cuts. I supervised, but allowed her to cutting completely on her own.
After the tree was cut from the construction paper, I supervised as my daughter glued the tree to the background. She applied the glue using a glue stick, flipped the tree over, and began to place it. She didn't like it's positioning and asked for help. I assisted in placing everything where she wanted it, and she pressed it down. We did this similarly with the branches. She used a glue stick on the branches. She then placed them where she wanted them in essence. She then requested my help and guided me to place them more precisely. Once this was dry, we moved onto the painting portion.
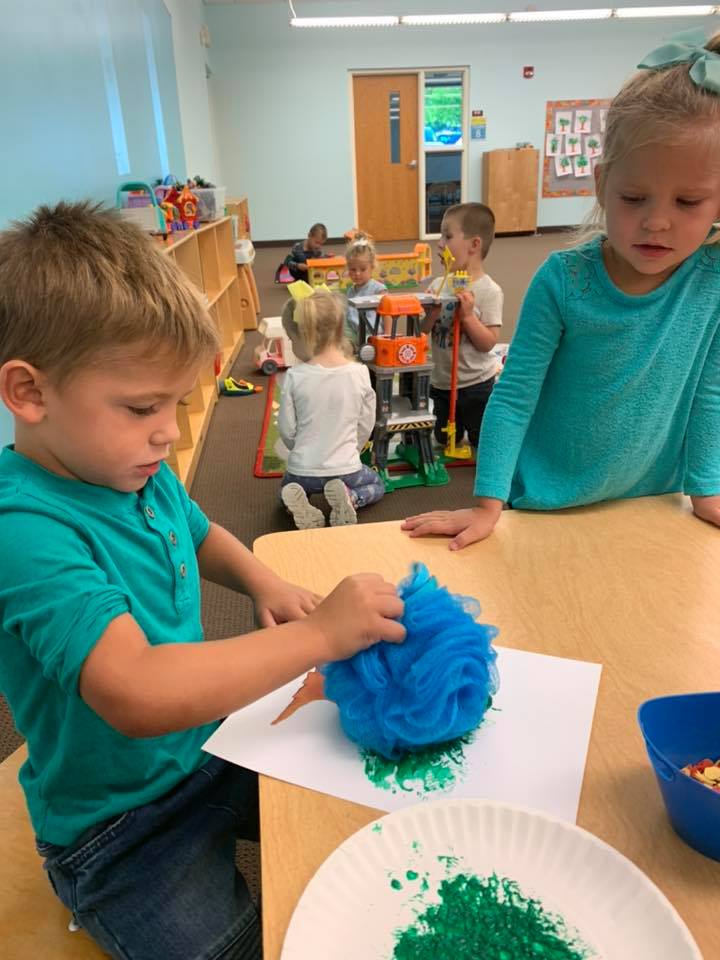
We painted the leaves of the tree using green poster paint and sponges. She enjoyed smashing the sponges over and over to make the leaves. After a few smashes, she asked for assistance, so I guided her hand for the tree leaves. We let this dry.
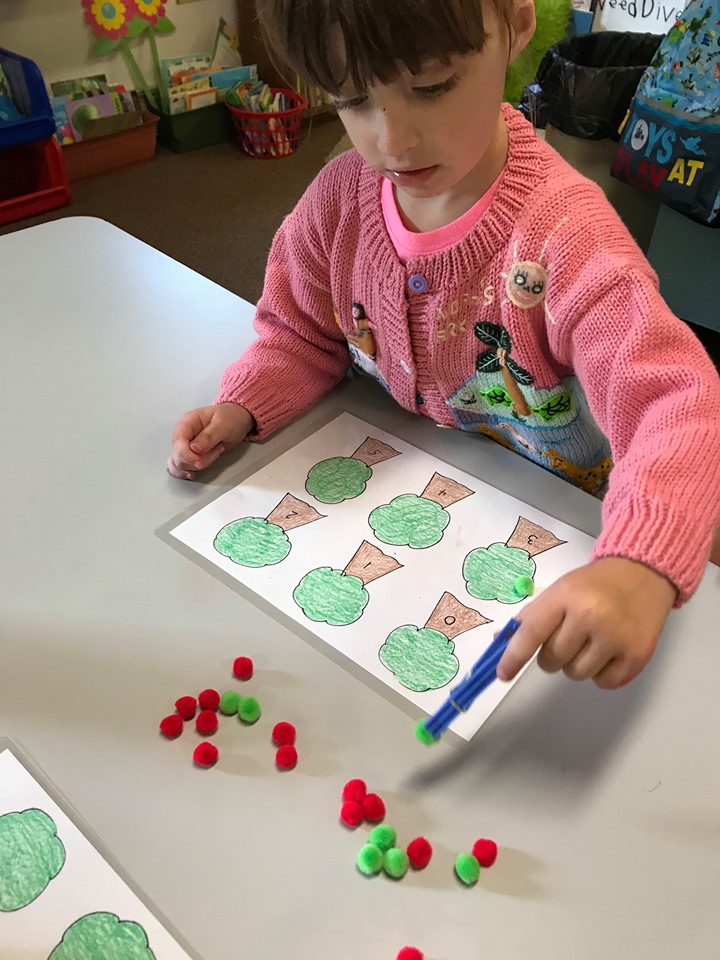
For the last portion of our apple tree, we used small green and red pompoms and liquid school-glue to add "apples" to the tree. This was her favorite part of the activity. She highly enjoyed using the liquid glue. I showed her how to squeeze the glue onto the pompoms and place them onto the tree. After I showed her one "apple", she knew what to do.
While we used school glue for this activity, I think in the future I would use clear tacky-glue or craft glue. I did have to reattach a number of pompoms after the glue was dry because they fell. I think a tackier glue with more would fix this problem.
As noted, this was her favorite activity to date. She continually asks to do it again. If I were to do the activity again, I would complete it over 3 days instead of 2 days. I think the pompom portion could use its own day.
Beyond having fun, this activity developed:
- Fine motor skills: painting, two different types of gluing, placing pompoms, placing construction paper, etc.
- Body awareness: Stamping hand and forearm, strength awareness when painting the background
- Color awareness and color mixing skills: Making a nice sky blue, mixing blue and yellow to make green, seeing what happens when we add more blue or more yellow to our green
- Artistic Appreciation: We looked at paintings of grass and sky and painting of trees in order to assist us with how our backgrounds and trees should look.
- Patience skills: since this was a multiple task project completed over two days, it required my daughter to have a certain sense of patience and an ability to wait despite being excited to move onto the next step


