Mary Susan Sullivan
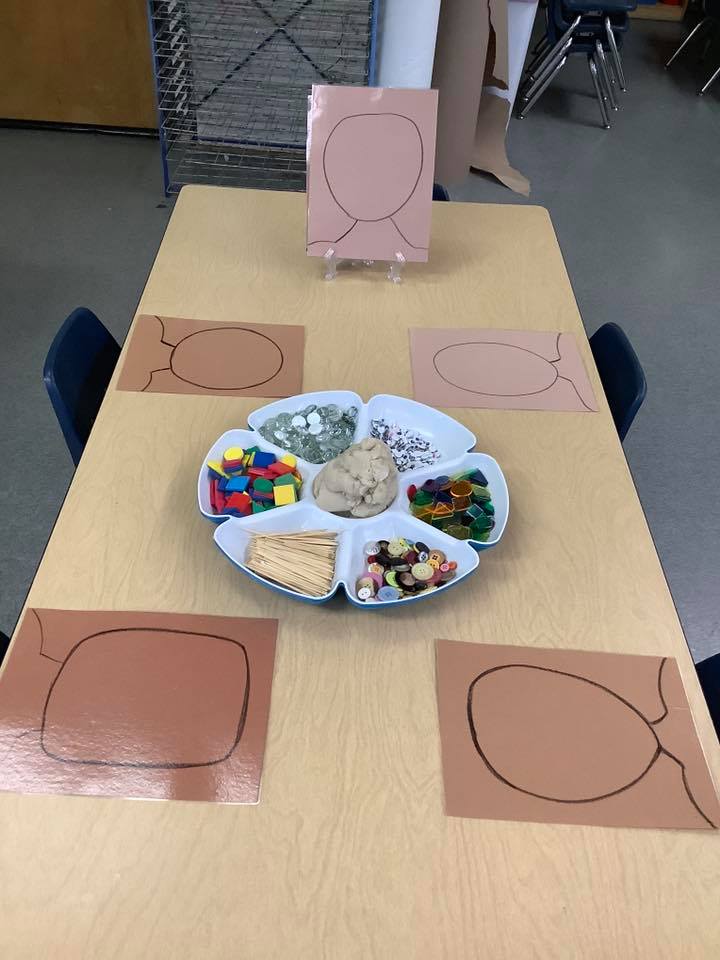
Creating Self Portraits using playdough and pipe cleaners
### How to Make a Self Portrait Using Paper Plates, Crayons, Play Dough, and Pipe Cleaners
**Materials Needed:**
- Paper plates (one for each child)
- Crayons
- Play dough (variety of colors)
- Pipe cleaners (variety of colors)
- Glue or tape
- Child-safe scissors (optional)
### Step-by-Step Instructions
**Step 1: Color Your Face**
1. **Start with the Paper Plate**: This will be the base for your self-portrait. Ask the children to think about what color their face is. Is it light, dark, or something in between? Have them pick a crayon that matches their skin tone as closely as possible.
2. **Color the Plate**: Let them color the entire front of the paper plate, covering the surface to represent their face.
**Step 2: Add Hair with Play Dough or Pipe Cleaners**
1. **Play Dough Option**:
- Ask the children what their hair looks like. Is it long, short, straight, curly, or spiky?
- Give them a choice of play dough colors that match their hair color. Encourage them to roll the play dough into small pieces or strips, and help them shape it into their hair style.
- They can press the play dough directly onto the top of the paper plate, sticking it down gently to form their hair.
2. **Pipe Cleaner Option**:
- If the children want to use pipe cleaners for their hair, let them pick colors that match. Show them how to twist and bend the pipe cleaners into fun shapes to make straight or curly hair.
- Help them glue or tape the pipe cleaners onto the paper plate around the edges to look like hair coming out from their head.
**Step 3: Draw the Eyes, Nose, and Mouth**
1. **Eyes**: Ask the children to think about the color of their eyes. They can use crayons to draw two large circles in the middle of the plate for their eyes. After that, they can color in the eyes with the right eye color.
2. **Nose**: Have the children draw a nose below the eyes. It can be as simple as a little circle or triangle.
3. **Mouth**: Encourage them to draw their mouth. Are they smiling or making a funny face? They can use red, pink, or any other color they like to draw a happy mouth.
**Step 4: Make 3D Features with Play Dough**
1. For more fun, they can use **play dough** to make some parts of their face stand out! Help them roll small pieces of play dough to create a nose, lips, or even cheeks.
2. They can gently press the play dough onto the paper plate to make their face look more 3D.
**Step 5: Add Extra Features with Pipe Cleaners**
1. **Glasses**: If some of the children wear glasses, they can make glasses from pipe cleaners. Show them how to bend the pipe cleaners into two round shapes for the lenses and connect them with a small piece for the bridge of the nose.
2. **Earrings or Accessories**: Pipe cleaners can also be twisted into earrings or other fun accessories like headbands or hats! Let them get creative.
**Step 6: Final Touches**
1. Encourage the children to take a moment to look at their self-portraits and decide if they want to add anything else. They might want to add some extra decorations like freckles, rosy cheeks, or even a bow or cap.
2. **Let it Dry**: If they used a lot of glue or play dough, remind them to let their portraits sit for a while to dry. Once it’s dry, their portrait will be complete and ready to take home!


