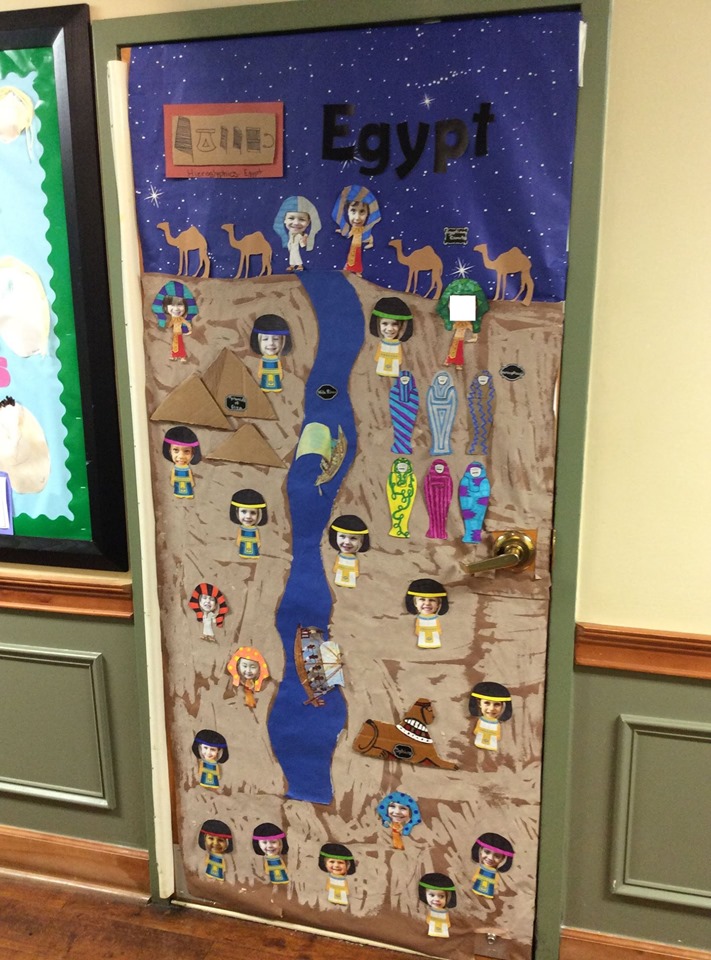
DIY Paper Mache Globe Lesson
Welcome to our DIY Paper Mache Globe lesson! In this fun and educational activity, we'll be creating our own globe using simple materials like balloons, newspaper, flour, and paint. This project is perfect for teaching geography or as a creative arts and crafts activity. Let's dive in!
Step-by-Step Instructions:
1. Prepare Your Workspace:
Set up a workspace with a large table covered in newspaper or a plastic tablecloth to protect surfaces from the mess.
2. Inflate the Balloon:
Inflate a balloon to the size you desire for your globe. This will determine the size of your finished project.
3. Mix the Paste:
In a mixing bowl, combine flour and water to create a paste with a consistency similar to pancake batter. Stir until smooth and free of lumps.
4. Apply Newspaper Strips:
Tear newspaper into long strips. Dip each strip into the paste, removing any excess, and apply it to the surface of the balloon. Cover the entire balloon with several layers of newspaper strips, leaving a small opening around the knot of the balloon.
5. Let it Dry:
Allow the paper mache to dry completely. This may take a day or two depending on the humidity and thickness of the layers.
6. Pop and Remove Balloon:
Once the paper mache is fully dry, carefully pop the balloon and remove it from inside the paper shell.
7. Paint the Globe:
Now comes the fun part! Paint your paper mache globe using blue paint for the oceans, green paint for the landmasses, and white paint for the polar ice caps. You can use reference materials like maps or globes to guide your painting.
8. Add Details:
Once the base coat is dry, use marker pens to add details like country borders, continents, and oceans. Get creative with labeling and decorating your globe!
9. Optional: Hang Your Globe:
If you want to hang your globe, poke a small hole near the top of the globe using scissors or a sharp tool. Thread a piece of string or twine through the hole and tie a knot to create a loop for hanging.
10. Display and Enjoy:
Once your paper mache globe is complete, display it proudly in your classroom or home. Use it as a teaching tool, a decorative piece, or a reminder of the fun you had creating it!
Conclusion:
Congratulations! You've successfully completed your DIY Paper Mache Globe. This hands-on activity not only enhances creativity but also helps reinforce geographical knowledge. Feel free to customize your globe with additional features or decorations to make it truly unique. Have fun exploring the world!